Many, many years ago, I made a patchwork quilt. I painstakingly cut out the hexagons, and made them up. It took forever, but since buying my lovely new sewing machine, I discovered how to use the quilting attachment, so I've decided to have another go.
The first thing I made was a quilted 'book' a bit like the sort of thing you have for babies. I saw the idea somewhere, and have sort of adapted it. I couldn't work out how to have light sewing on the light bits and dark sewing on the dark bits, so gave up and just hoped the stitching was straight.
Its a bit wonky in places, but not bad for a first attempt.
But, for a purist like me, that's sort of cheating. So I'm going to make a 'sampler' quilt. Various different patterns, but if I stick to making 8", 12" and 16" squares, it should be OK.
Why the different sizes? Well some patterns lend themselves to small sizes, hexagons for one. Others, like Drunkards path tend to need to be larger to get the effect.
So. First things first. Cut out the little hexagons out of paper. This took hours! The perfectionist in me cut out 2" strips of paper and then used a protractor (gosh! that took me back to school) to get perfect 60 degree angles. This is quite important, get them ever so slightly out, as my first ones where, and they'll never join together properly.
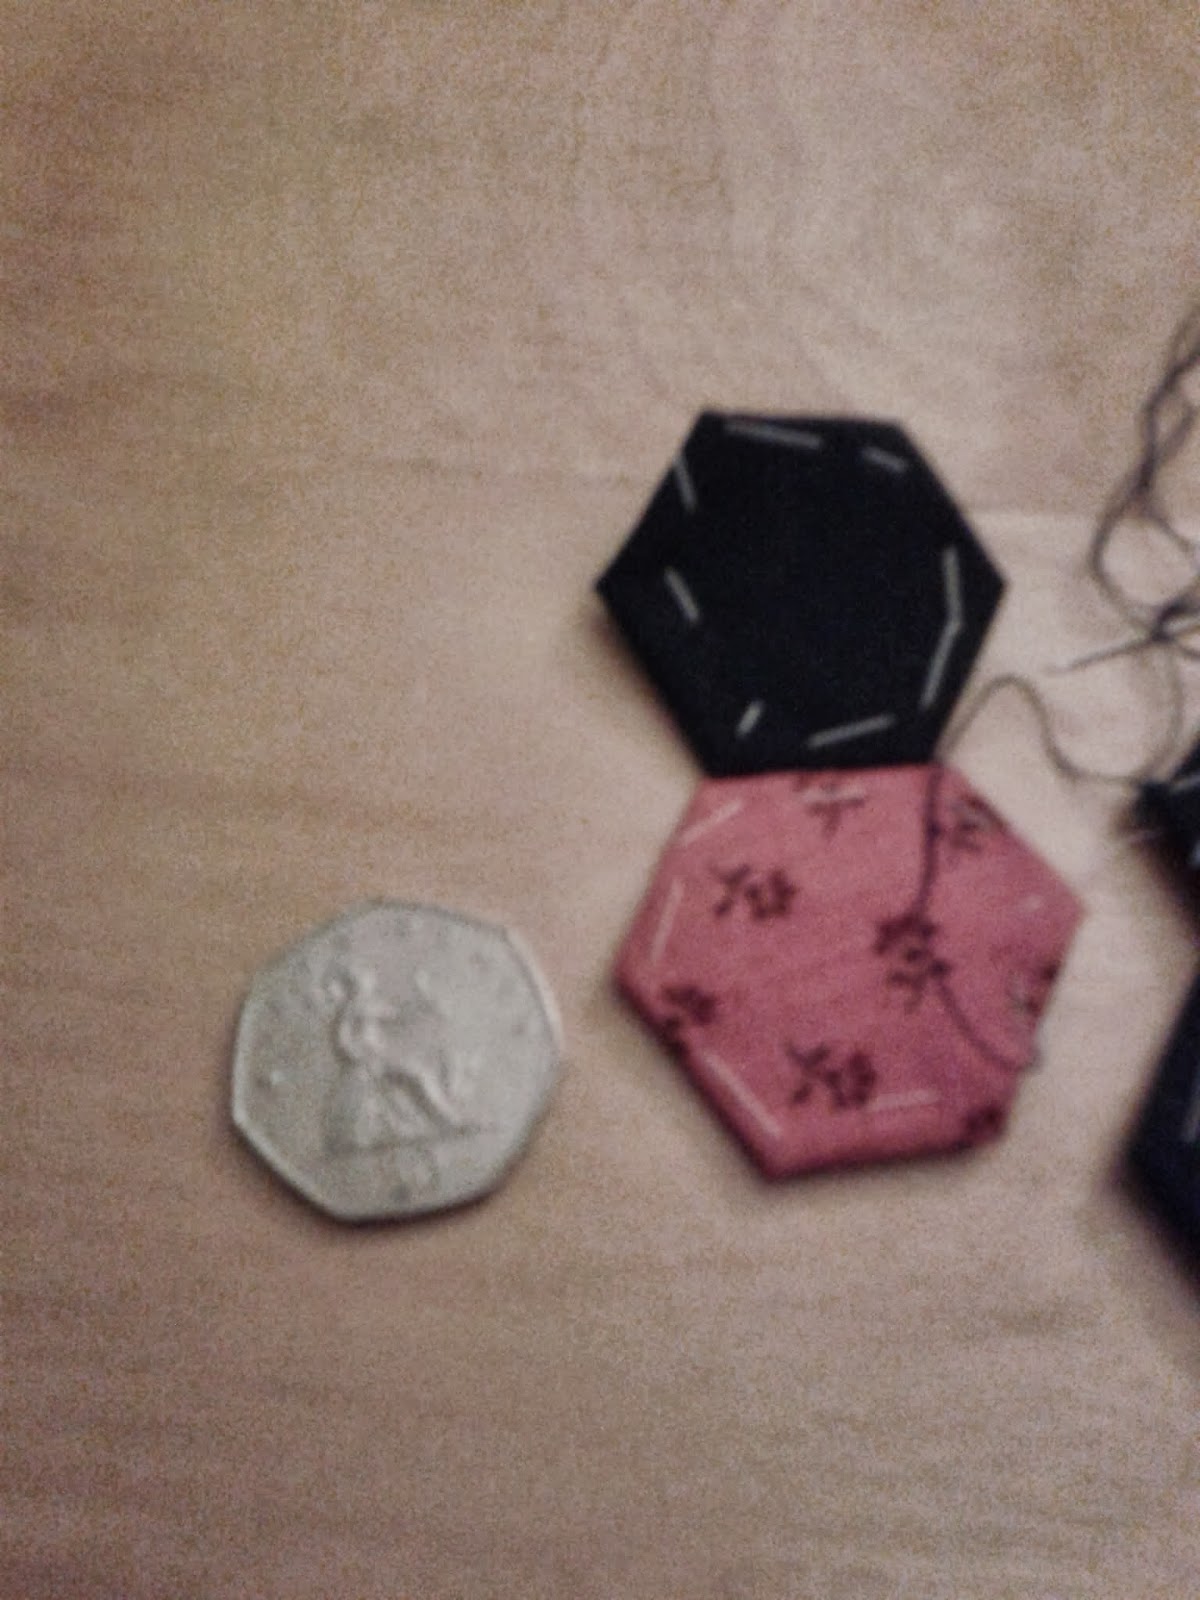
Now when I say little, this is the size, just a bit bigger than a 50p piece. Which makes it the ideal size for taking away with me.
Having cut out the little pieces of paper, they were then used as a template to create the correct shape. Without the paper, it would be impossible to do hexagons.
Well actually, that's not true. I've since discovered that there is an American company making templates that make it simple to make hexagons.
Fake hexagons
Well actually, technically, they're not hexagons, they're trapezoids, but it does mean you can use a sewing machine, as there aren't any awkward corners that need to be hand stitched.
They're also a fair amount of money if you're not a serious needleworker, so for now I'll stick to my pencil, ruler, protractor and scissors!
A bit of history
Hexagons are part of a patchwork style known as 'English Paper Piercing' (well at least in the UK its called that) Other designs using this style are baby blocks and stars. Its mainly used for hand sewing and can be used on very small pieces of material, which would not normally be suitable for a sewing machine. This makes it ideal for using up odd scraps.